Blurring Tutorials
Lear how to blur photo with different applications!
Blur photo with GIMP
How to blur photo with GIMP
Let’s look how to blur photos with gimp, which is free graphic software which can do many more than just blurring. It’s relatively easy to use and you can install it even on linux or macOS.
But if you don’t want to download and install anything, you can just use our blur photo editor tool, which helps you blur your photo online just in browsers, and it’s free!
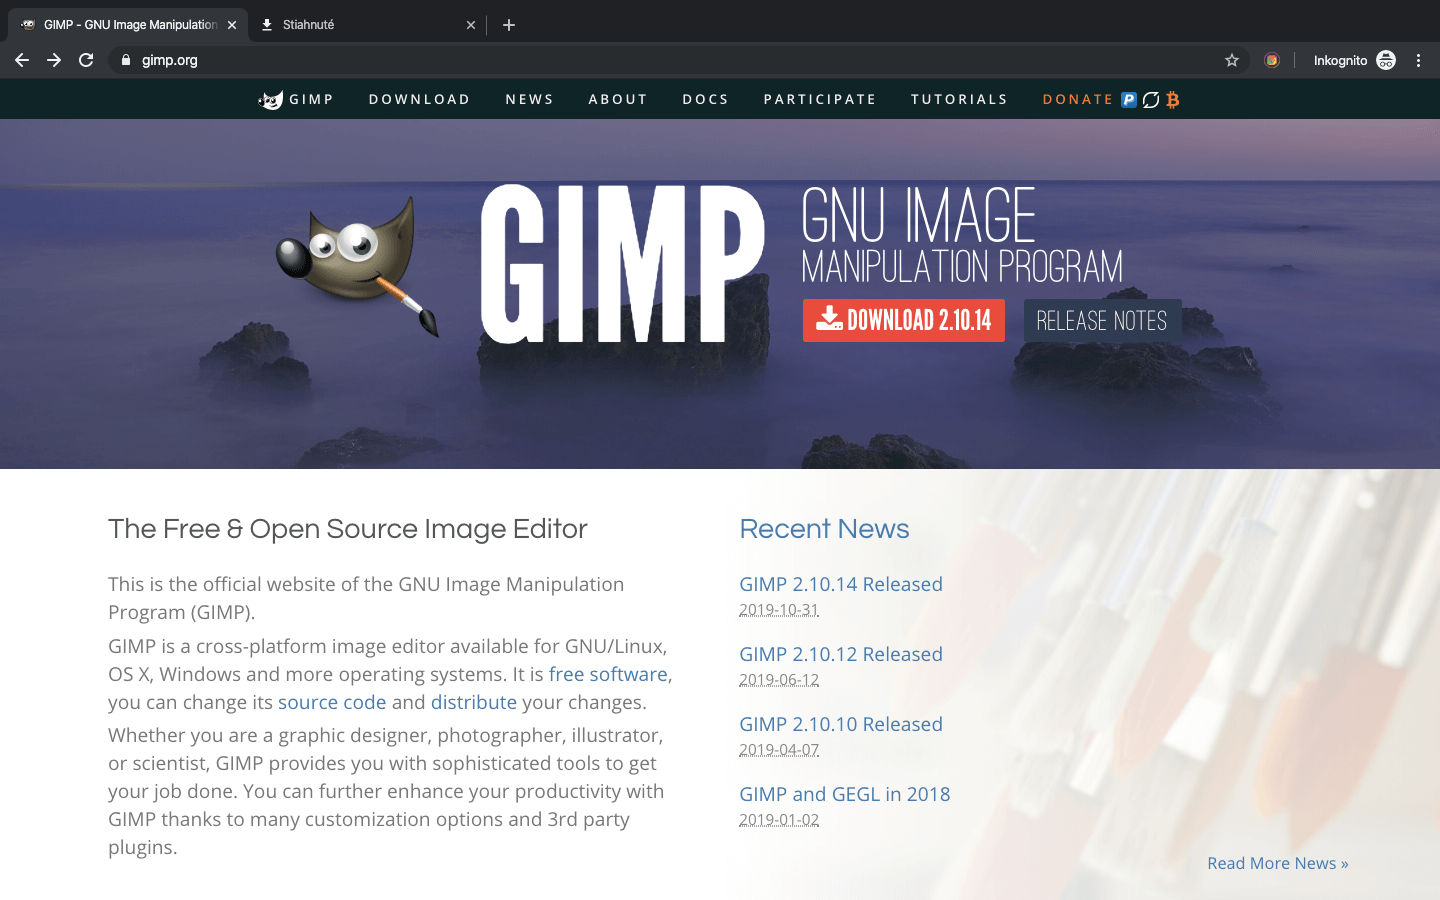
But to continue, You can download gimp from it’s official website https://www.gimp.org/.
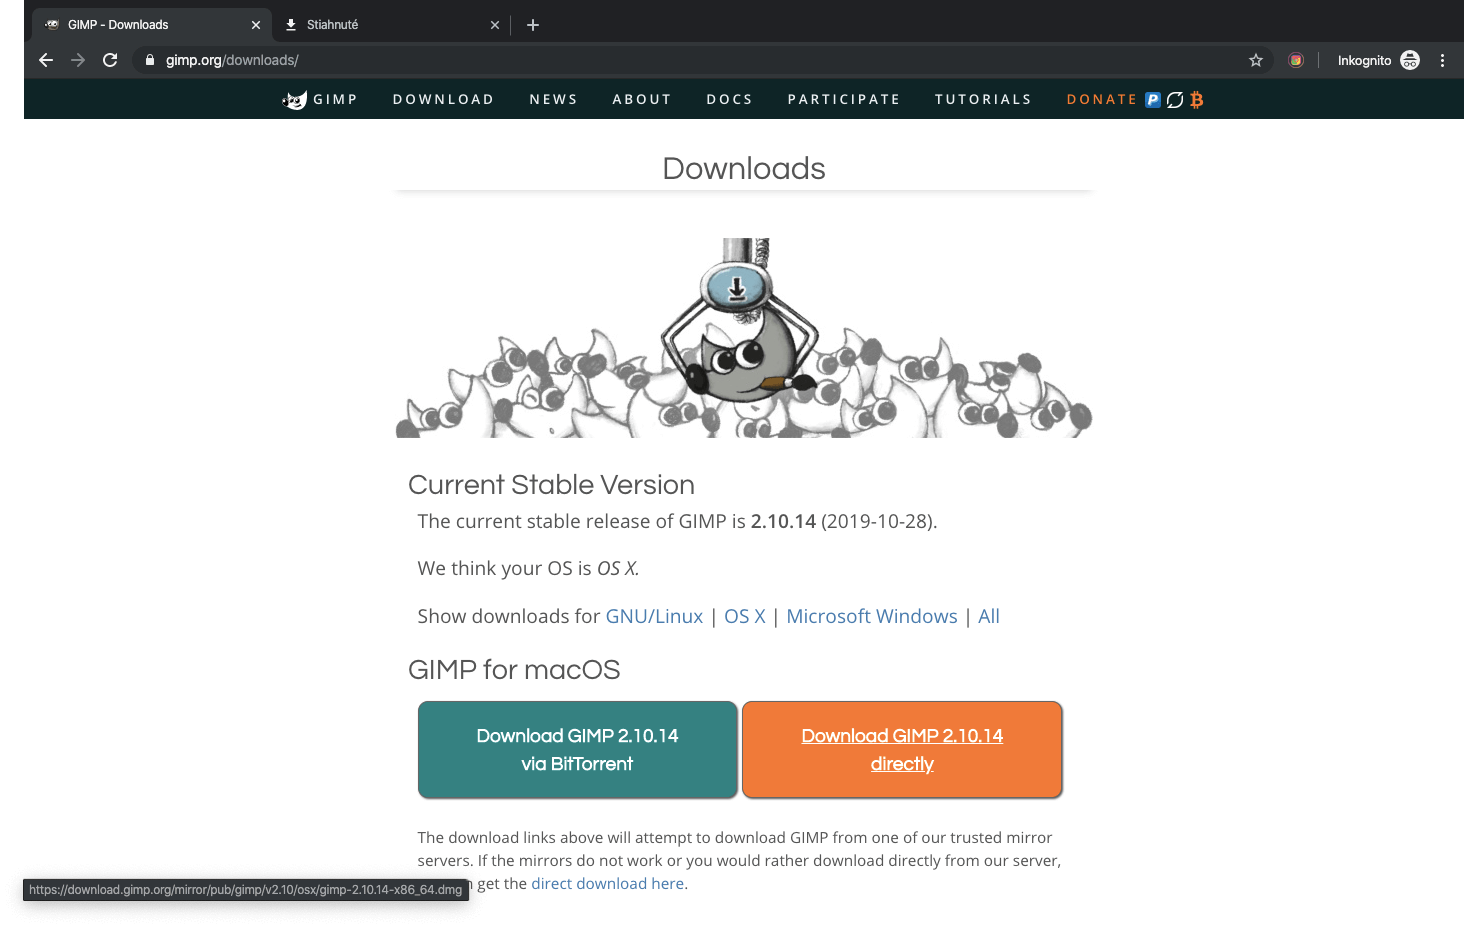
Just clik on download and choose download gimp directly, or via torrent.
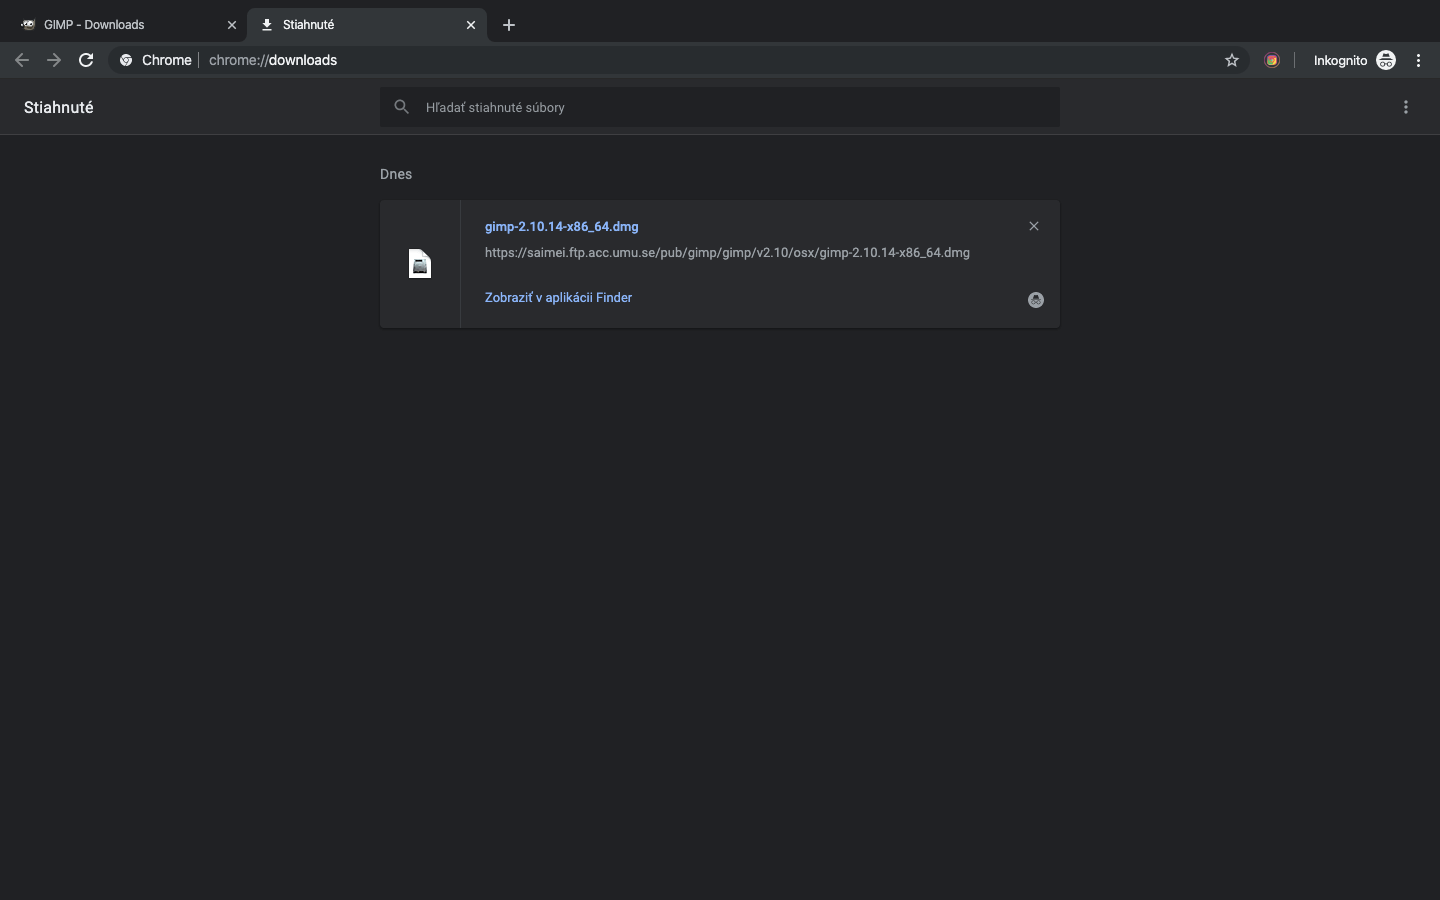
After downloads finishes you can click on installer and run it.
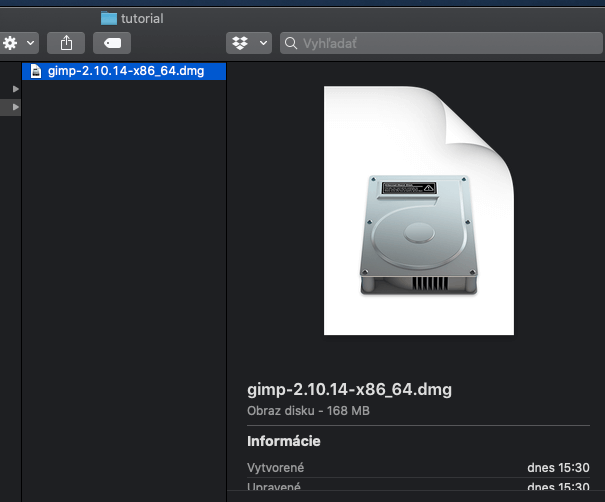
Depending on you OS you go through installation process.
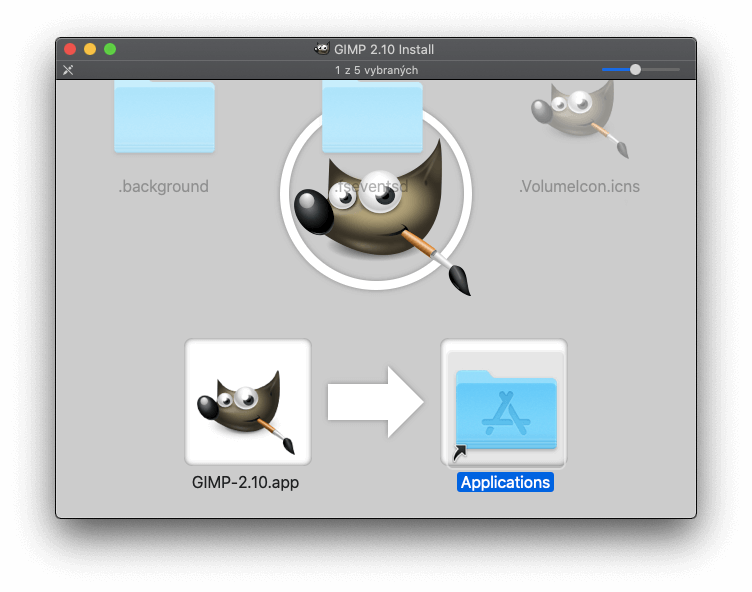
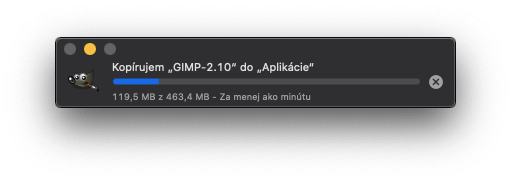
With next next next method you get gimp installed and ready to launch.
After installation start gimp by clicking on it’s icon.
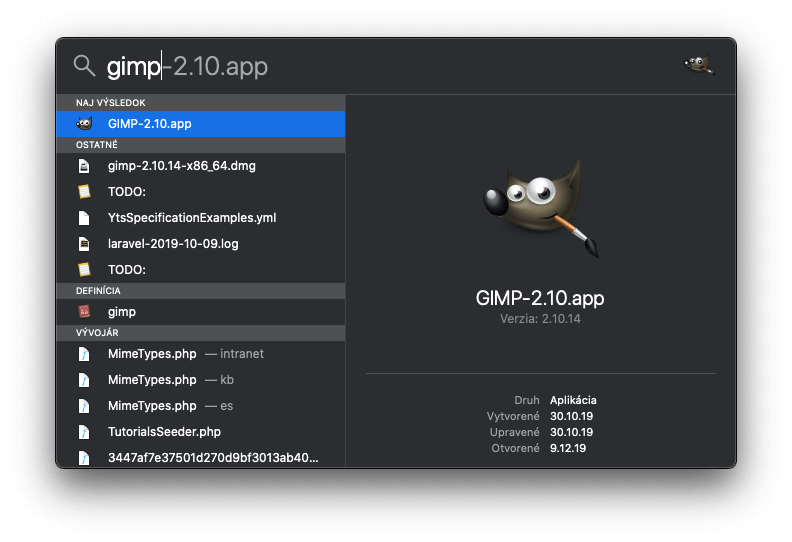
It’s take some time to load so don’t be scared.

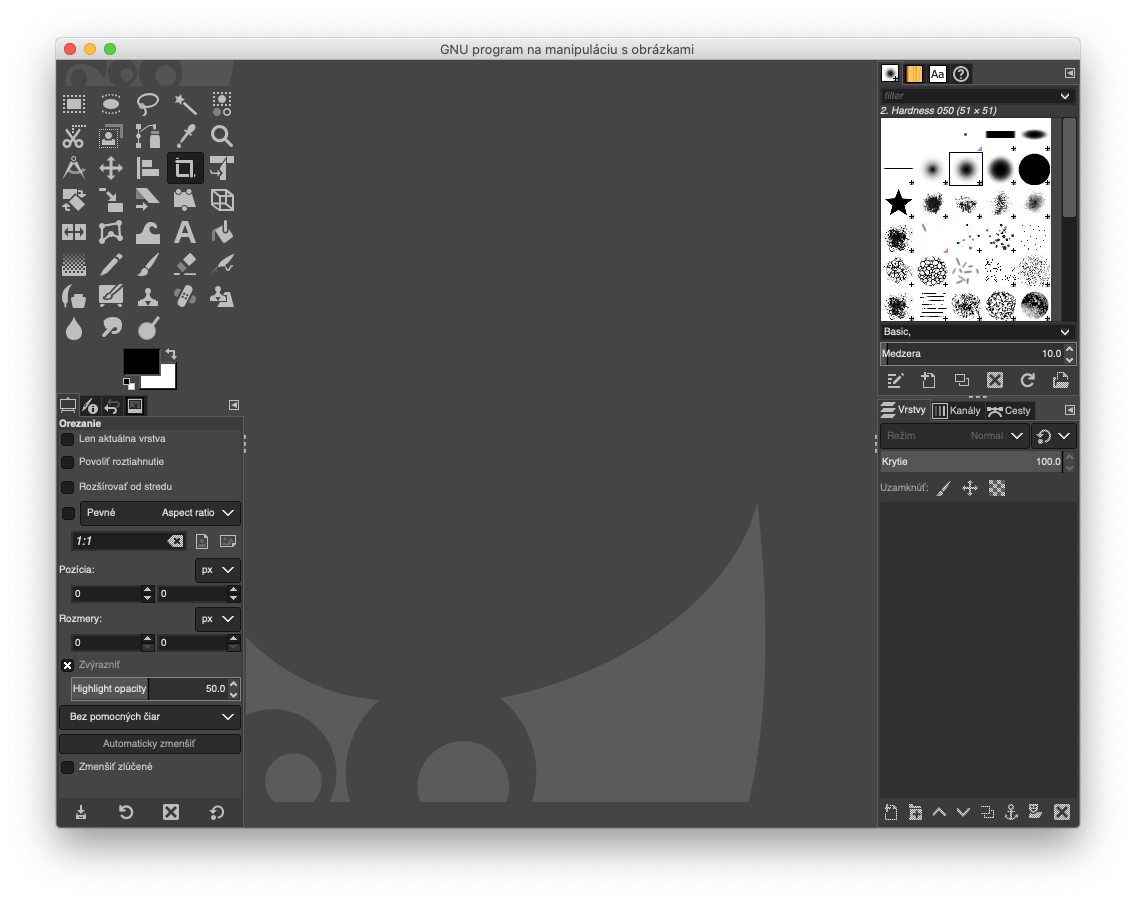
After GIMP finally loads you should see something like this.
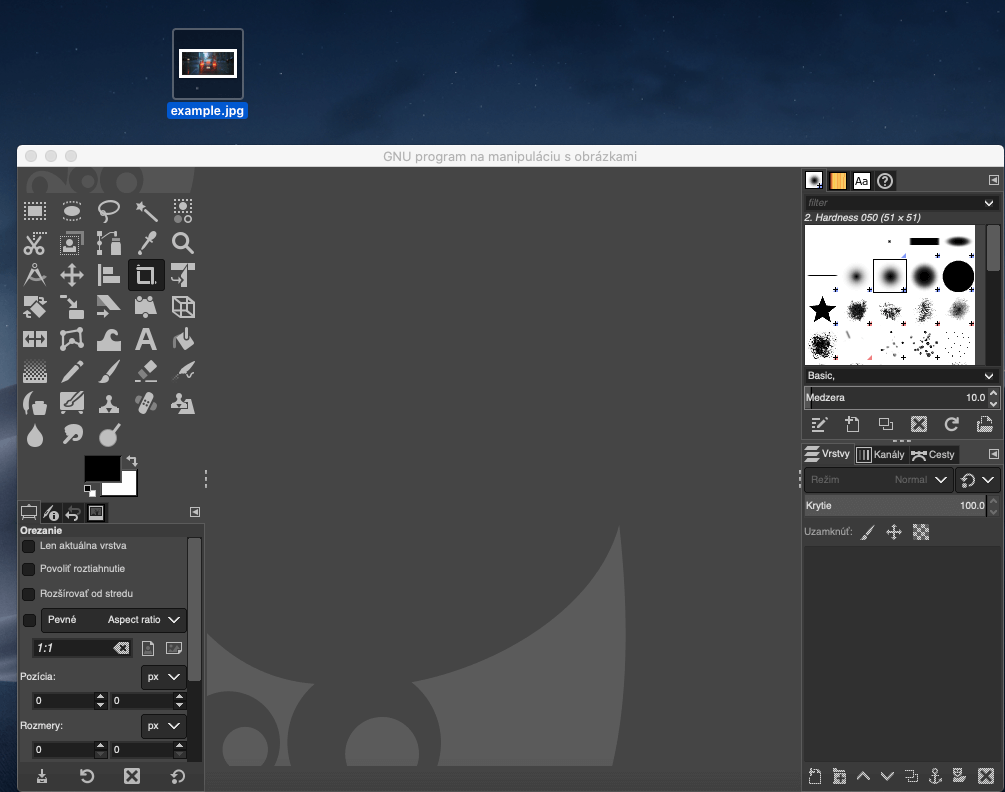
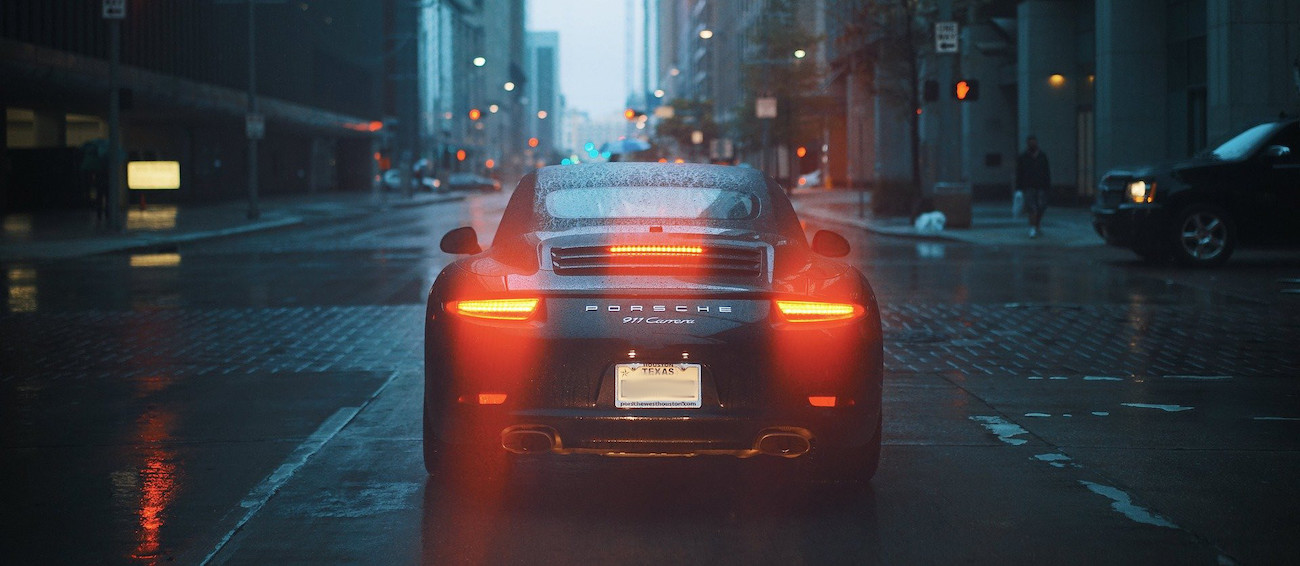
Load your image, you can do so by dragging image from your desktop to gimp window or by just clicking and file open and choosing the file from file explorer.
After image has been loaded, you can now edit it as you want, there are many tools at you tool pallete but if you only want to blur photo we will stick to blurring icon.
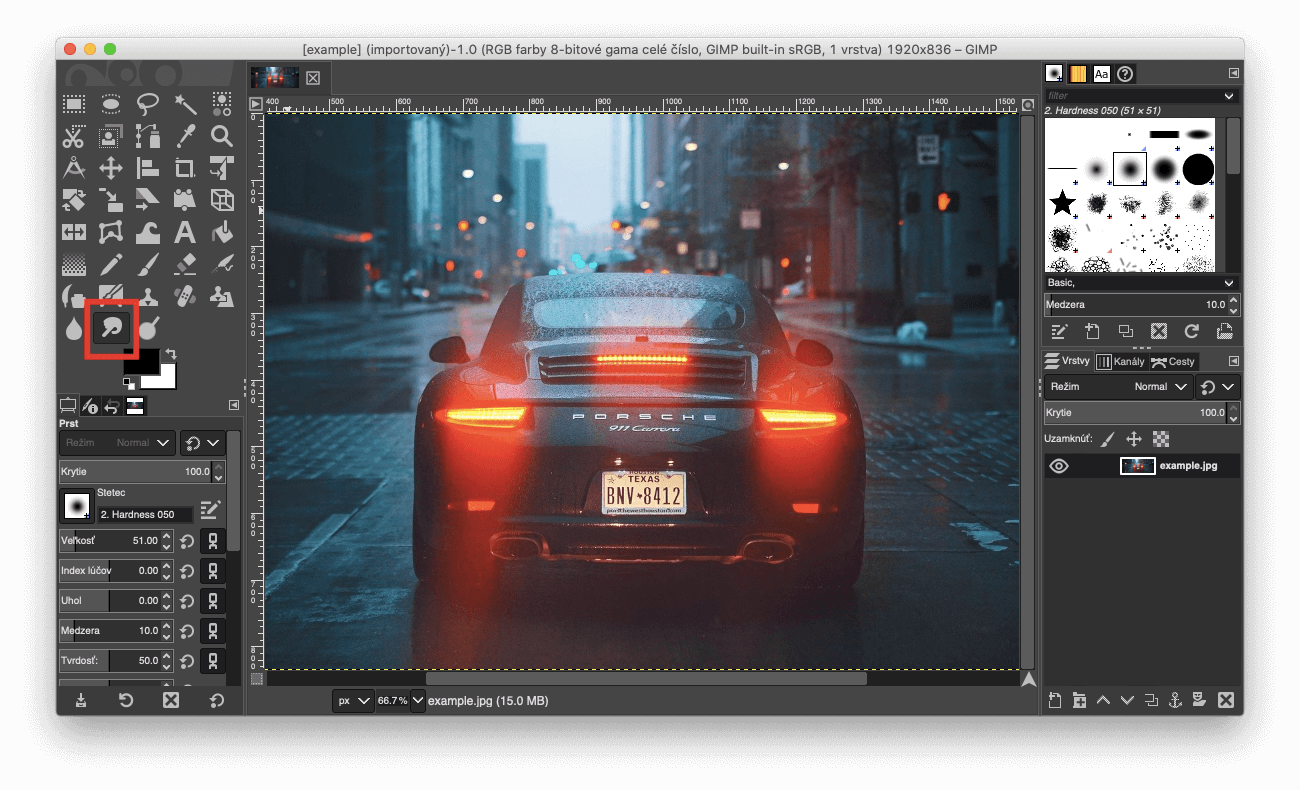
Click on blur icon and now you can tap and drag on your photo to apply blur to it.

If you need to you can specify size and other parameters of blur brush in your bottom left corner.

After you are done with blurring your photo, you can now export you blur photo.
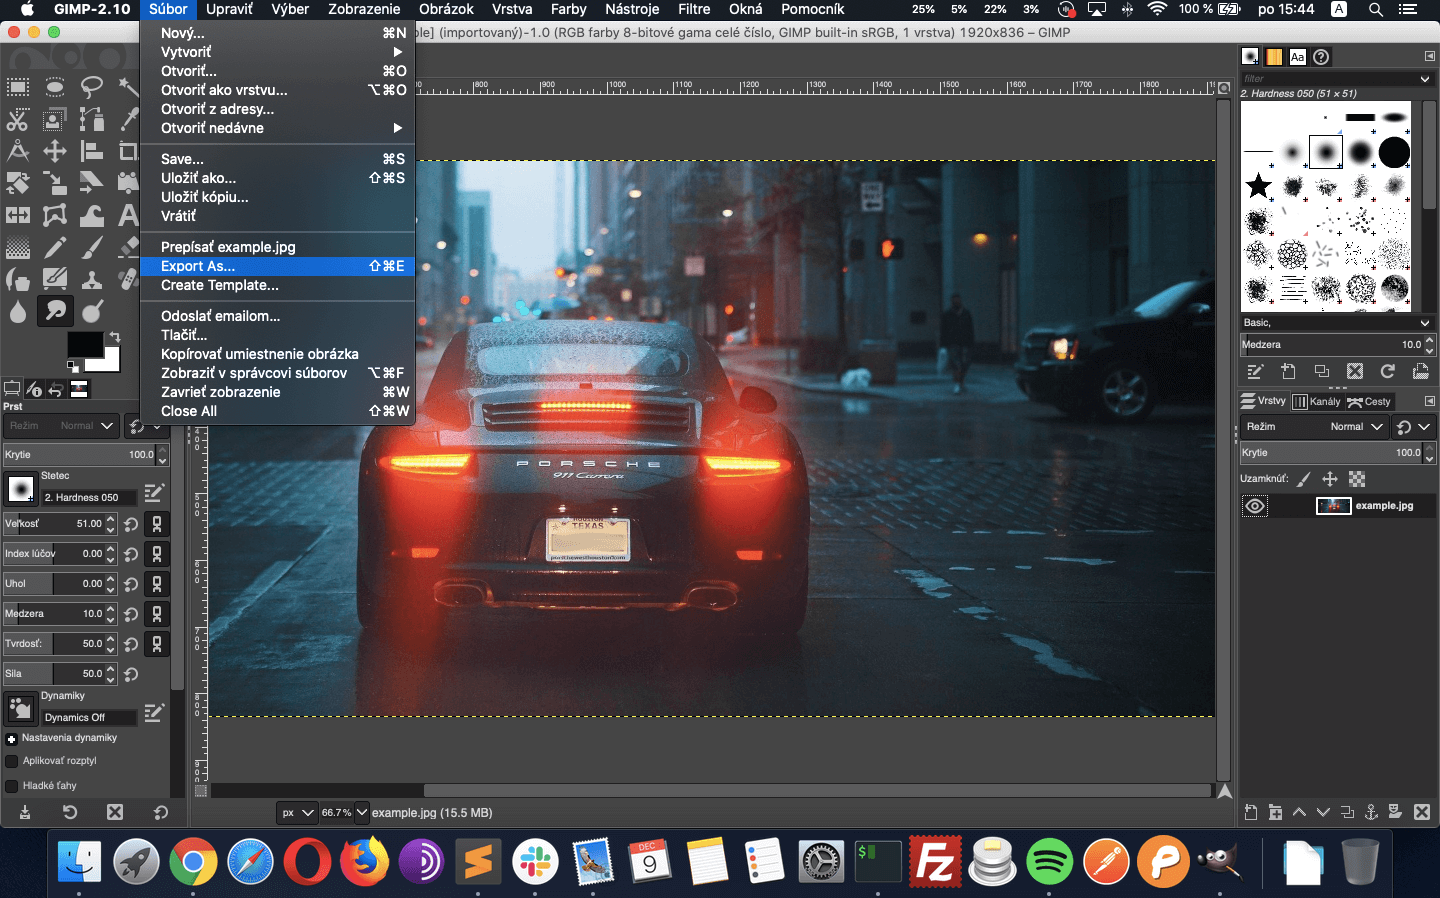
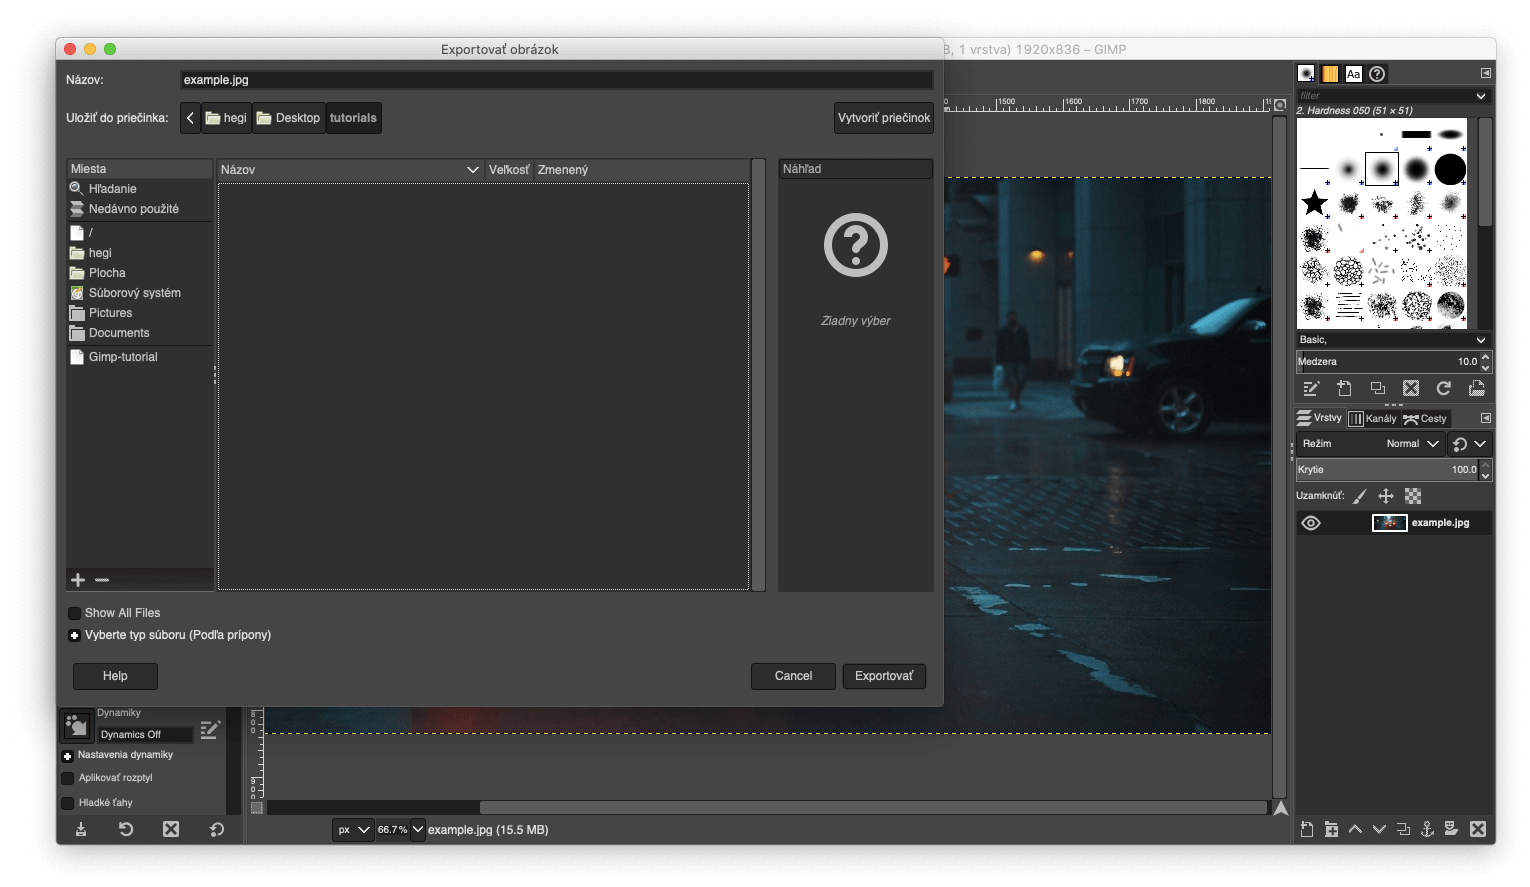
To export your blurred photo click on file at the top ribbon and chose file -> export as.
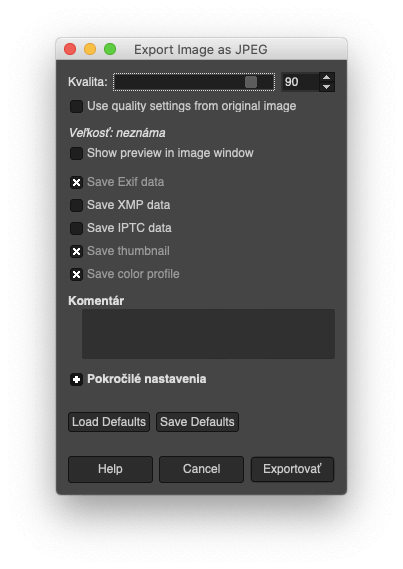
Chose name of your image and file quality as well as format of image. To not be confused stick to default values, and save image.
After saving your image will appear at your desired folder, and thats it.
If this looks complicated to you, try to use our blur photo tool, which does exactly what we cover in this tutorial, but without installation and configuration, just click on blur photo editor and upload your image.